How many great sporting careers have been held back, or even cut short, by hamstring injuries? Each season we tend to see the same players struggle with their hamstrings as we enter the main competitive phase of the year. This can hold back their performance in games or prevent them from playing altogether.
 Many players who struggle with hamstring injuries feel they were born with this “condition” and are simply unlucky. Recent research has shown however that both hamstring and cruciate ligament injuries that came from non-contact incidents are very preventable through proper strength training. This training needs to be planned correctly and adapted for each individual.
Below I have outlined a basic step-by-step approach to help improve someone’s “dodgy” hamstrings and also reduce the chances of them occurring in the future.
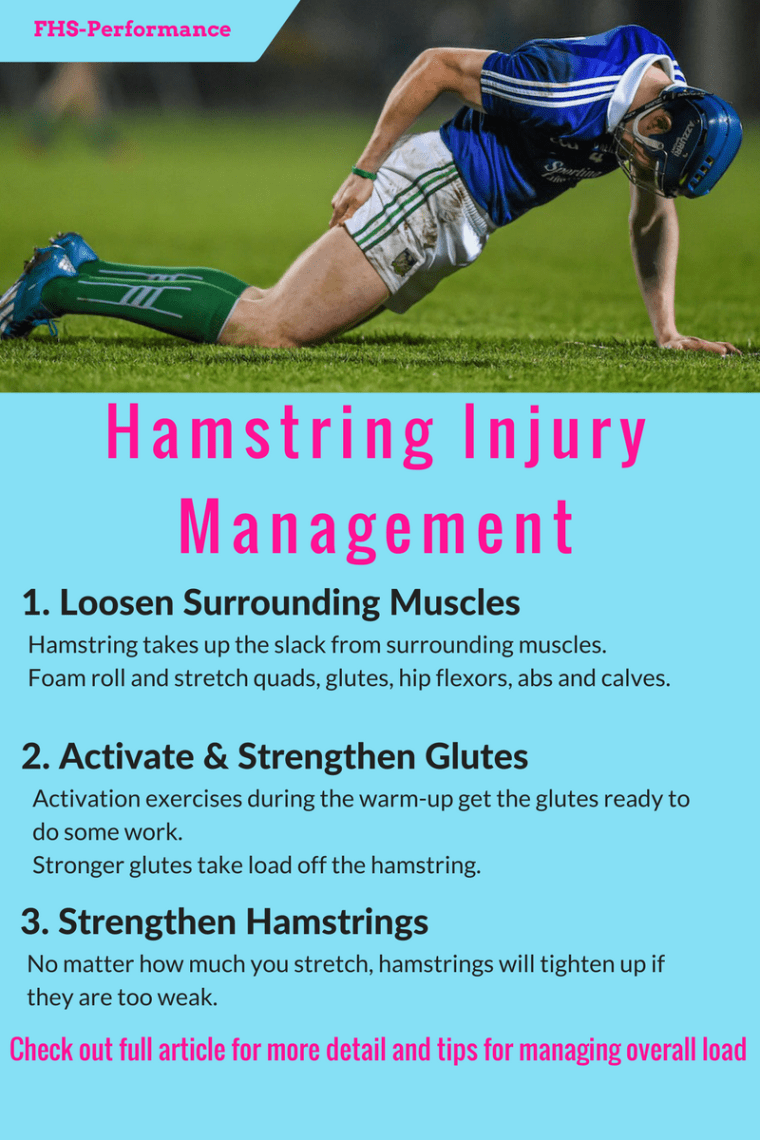
Step 1 – Loosen the surrounding muscles.
The hamstring muscles often come under a lot of pressure when the surrounding muscles tighten. This can be for a variety of reasons but releasing the quads, abs, glutes, adductors, calves and lower back will take a lot of pressure off the hamstrings.
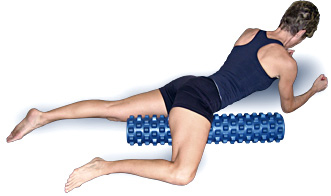
Foam-rolling combined with stretching will provide a release to the quads and calves.
A tennis ball may be required for the glutes and hip flexors.
A larger and softer ball (such as a 1st touch sliotar) is very effective for releasing the abdominal muscles. Lying, facedown, on the ball for 5 deep breaths provides great release to the abdominals.

Following a rolling and stretching routine for 10-15 minutes a day will release a lot of pressure from the hamstrings and help the hips move more freely.
Step 2 – Activate the Glutes!
Stretching and rolling is only treating the symptoms but doing very little to prevent them what’s causing it.
Constant sitting and driving has allowed our glutes to become extremely inactive and ‘switch off’. Our hamstrings and lower back take up on a lot of the workload from our underactive glutes.
Activating or ‘firing’ the glutes at the beginning of an exercise routine will help them take on more of the workload.
Strengthening the glutes will also help them to function better and greatly improve performance.
Some basic activation exercises are:
You can also find a simple activation routine here.
You can begin to include some glute strengthening exercises once you feel them activated during normal daily activities.
Some of the best exercises to strengthen the glutes are:
Step 3 – Strengthen the Hamstrings

So many coaches and athletes focus on improving the flexibility of hamstrings yet completely neglect strengthening them. No matter how often you stretch a muscle, if it is weak and over-trained, it will tighten up.
Improving hamstring strength is key to reducing the chances of injury while also increasing sprinting speed.
The hamstring is comprised of three major muscles. They serve to flex (bend) the knee and extend (straighten) the hip. Neglecting either of these movements will lead to a weakness somewhere in the muscle and greater risk of injury.
Here is a simple strengthening programme that can be completed on it’s own or added into an overall plan. It is divided into 3 separate days. One day with a focus on hips, one day with a focus on knees and one that focuses on standing work.
These exercises can be completed during gym sessions or on field. It is recommended that you leave these toward the end of the session if done on field.
| Hamstring Development Template | ||
| Day 1 – Hip Based | Day 2 – Knee Based | Day 3 – Standing |
| Phase 1 | ||
| Kneeling Hip Hinge
Week 1 – 2 sets of 6 Week 2 – 2 sets of 8 Week 3 – 3 sets of 6 Week 4 – 2 sets of 7 |
TRX Curls
Week 1 – 2 sets of 6 Week 2 – 2 sets of 8 Week 3 – 3 sets of 6 Week 4 – 2 sets of 7 |
Band Good Mornings
Week 1 – 3 sets of 8 Week 2 – 3 sets of 8 Week 3 – 3 sets of 8 Week 4 – 2 sets of 8 |
| Phase 2 | ||
| Kneeling Hip Hinge w Pulse
Week 1 – 2 sets of 6 Week 2 – 2 sets of 8 Week 3 – 3 sets of 6 Week 4 – 2 sets of 7 |
Alternating TRX Curls
Week 1 – 2 sets of 6 Week 2 – 2 sets of 8 Week 3 – 3 sets of 6 Week 4 – 2 sets of 7 |
Dumbell RDLs
Week 1 – 3 sets of 10 Week 2 – 3 sets of 10 Week 3 – 3 sets of 10 Week 4 – 2 sets of 8 |
| Phase 3 | ||
| Razor Curls
Week 1 – 2 sets of 6 Week 2 – 2 sets of 8 Week 3 – 3 sets of 6 Week 4 – 2 sets of 7 |
Single Leg TRX Curl
Week 1 – 2 sets of 6 Week 2 – 2 sets of 8 Week 3 – 3 sets of 6 Week 4 – 2 sets of 7 |
Split Good Mornings
Week 1 – 3 sets of 8 Week 2 – 3 sets of 8 Week 3 – 3 sets of 8 Week 4 – 2 sets of 8 |
| Phase 4 | ||
| Nordic Curls
Week 1 – 2 sets of 6 Week 2 – 2 sets of 8 Week 3 – 3 sets of 6 Week 4 – 2 sets of 7 |
Single Leg TRX Curl
Week 1 – 3 sets of 6 Week 2 – 3 sets of 8 Week 3 – 3 sets of 10 Week 4 – 2 sets of 8 |
Single Leg RDLs
Week 1 – 3 sets of 8 Week 2 – 3 sets of 8 Week 3 – 3 sets of 8 Week 4 – 2 sets of 8 |
Videos of each exercise can be found by clicking on the name.
I did Nordic Curls assisted by a band as I have super long Femurs and will probably never have the hamstring strength to complete one. Assistance with a band is perfectly ok at this stage. Shorter people may be able to complete some by the end of this programme.
Ensure you begin at the start and do not jump directly into the more difficult exercises.
Feel free to add extra sets and reps, as these are only suggestions.
Ensure there is a gradual progression from week to week and no major jumps or drops in overall volume.
If you find it difficult to recover from any of the phases then return to Phase 1 and build your way back up again.
I would suggest completing it in this order:
Phase 1
Phase 2
Phase 1
Phase 2
Phase 3
Phase 2
Phase 3
Phase 4
This allows everyone to develop a level of mastery before progressing onto the more difficult exercises.
Overall Management
Tip 1:
The overall training load of an athlete must be monitored. A sharp increase in time spent training or the intensity of training will lead to physical breakdown. Hamstrings and groins are often the first to go when someone reaches a level of training they are not used to in a short period of time.
Tip 2:
Ensure de-loads and proper progression of exercises. You will notice in the above programme that week 4 includes less exercise than the previous weeks. This allows the body an extra week to recover and come back fresher while maintaining strength. These do not always have to be done in 4-week blocks. Ideally you would include these the week before an important match/event to ensure freshness.
Tip 3:
Include ‘Top-End’ speed work in training 1-2 times per week. If the body is not used to reaching top speed regularly then it may not be able to cope when it reaches top speed in a game. It is at top speed that hamstrings usually come under the most pressure so adapting to this state is very important.
My go-to speed drills are ‘Flying 20s’, ‘Flying 30s’, 40m sprint and resisted sprints.
Feel free to add these exercises into your own routine.
If you would like a full programme to accompany your hamstring development that will improve overall speed, strength, power and fitness then email me at fhsperformance@gmail.com.
Any questions about the programme or anything else fitness related can also be directed to the above email.
Mind them Hammers!!
John

One thought on “Those Pesky Hamstrings!”